Recent posts

Press Releases
South Africa's SME Credit Wall Is Driving Business Owners to Secured Asset Loans
01 July 2026

Geek Chic
Where Wonder Man Fits Into The Marvel TV Universe
27 June 2026

Petrol heads
Bakkie Lid Covers Explained: How to Choose the Right One
25 June 2026
who-called-me-sa.png)
Alarming
Who Called Me South Africa: Best Tools to Identify Unknown Callers in SA
23 June 2026
Popular posts
Extravaganza
Trending Music Hashtags To Get Your Posts Noticed
24 August 2018
Geek Chic
How To Fix iPhone/iPad Only Charging In Certain Positions
05 July 2020
Extravaganza
Trending Wedding Hashtags To Get Your Posts Noticed
18 September 2018
Money Talks
How To Find Coupons & Vouchers Online In South Africa
28 March 2019
How To Properly Set Up Google Analytics With Shopify Sites
08 July 2019 | 0 comments | Posted by Che Kohler in nichemarket Advice
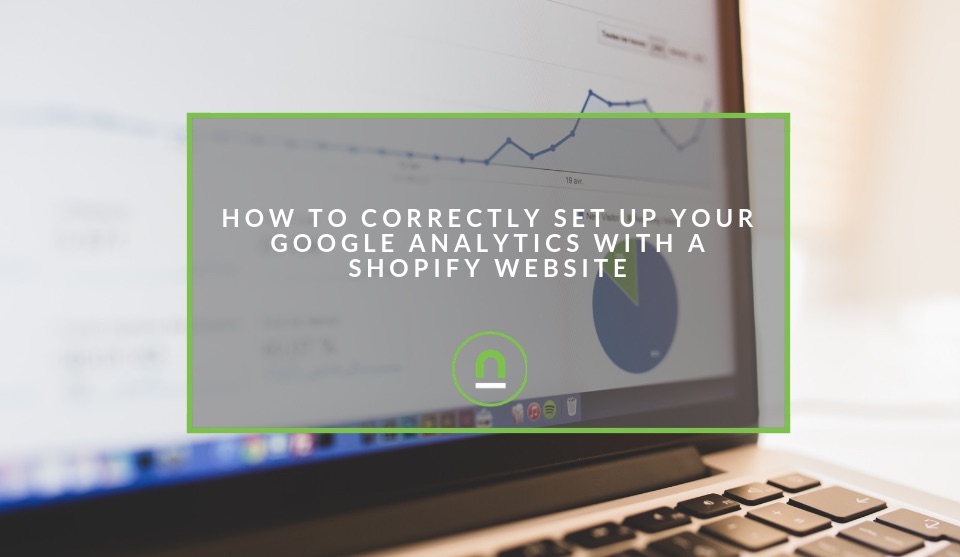
Starting your eCommerce business is one of the most exciting endeavours you can undertake online these days with the ability to quickly create and scale your business with minimal resources and with a low barrier to access customers. Building an eCommerce site is no longer the work of corporates and players with deep pockets, with the introduction of WooCommerce and platforms like Shopify, the startup or SME can easily set up a powerful eCommerce enabled site in a matter of days.
What makes eCommerce so exciting is the ability to collect real-time data from your website and act on it to ensure your customers get more of what they want, when they want. To achieve this, one needs to start collecting data, which can be done via Shopify integration with Google Analytics.
To install Google Analytics is one thing but to set it up correctly requires a few extra steps. If you have a Shopify site with or without Google Analytics and want to make sure your tracking is set up correctly, then this guide is just for you.
Create A Google Analytics Account
First thing you will need to do is set up your Google Analytics account so you can receive your unique tracking ID.
- Head over to https://analytics.google.com
- Sign in with your Gmail or create one with your business email address
- Fill in the various required details such as account name, Website name, website URL, Industry category and reporting time zone
- Then check the previously required boxes under Data Sharing options
- Finally, Click Tracking ID
- Copy the tracking ID it should have the following format UA-0000-0000
If you already have a Google Analytics account but still need your ID you can follow these steps
- Login to your Google Account
- Click the sprocket icon in the bottom left corner
- Under properties click tracking info
- A new menu will appear and on that menu click tracking code
- Copy the tracking ID it should have the following format UA-0000-0000
Installing Google Analytics On Shopify
Now that you have your GA ID its time to add it to Shopify. Since Shopify already has the Google Analytics script built into its content management system, all it needs is a GA ID so it can push the relevant data to your newly created account.
To enable your Google Analytics on a Shopify site:
- Log in to your Shopify site
- In the admin panel under sales channels, click online store
- The menu will expand and then click on the preferences option
- Add your Google Analytics Code in the available Google Analytics field
- Click save
Customising your Google Analytics account for Shopify
As simple as Shopify makes it for anyone to set up and run a Google Analytics account, it is by no means a perfect setup and there are a few tasks you will need to compete to get your sites set up to run smoothly.
Setting up goals
If you're running the standard Shopify contact form you would naturally want to know how many people complete the form and where they are coming from. To set this up, head over to your Google Analytics account.
- Click the sprocket icon in the bottom left-hand corner
- Under the view column select goals
- Click new goal
- From the templates available select contact us (under inquiry)
- Click continue
- Under the "Goal description" select provide a name IE - Contact form
- Under type select the Destination option
- Under Goal details select the option "Begins with"
- Add the following - /pages/contact-us?contact_posted=true
- Click verify to see if you already have previous goals registered
- Then click save
Setting up correct channel attribution
One of Shopify's strengths lies in the fact that it can integrate with a number of third party payment providers which helps you as the merchant drive more users through your conversion funnel. The issue with this is that users actually leave your conversion funnel to visit the 3rd party payment providers site to pay for your product and then return to your confirmation page.
While this is fine for the user, it causes plenty of issues with your Google Analytics and if not set up correctly you will see all your purchases attributed to referral traffic from your 3rd party payment provider instead of the actual marketing channel.
To get around this we need to tell Google to Ignore any traffic from 3rd party payment provider domains.
- To do this head over to your Google Analytics account.
- Click the sprocket icon in the bottom left-hand corner
- Under the property column click tracking info
- Then select referral exclusion list
- You should see your site already excluded which is fine (since we don't want self-referral traffic)
- Click Add referral exclusion
- Add the domain name of your various payment providers (non-www or https)
- Click save
Now your Google Analytics account will correctly attribute your eCommerce sales to the correct marketing channel (based on first click interaction).
Tell us your Shopify story
Have you been frustrated with your sites Google Analytics data? How did you or the company overcome it? Are there any tips you would like to share on improving your Google Analytics? Share it with us in the comments.
Contact us
If you would like us to set up your website tracking or want to know more about digital marketing for your business, then don’t be shy we’re happy to assist. Simply contact us
Are you looking to promote your business?
South African Business owners can create your free business listing on nichemarket. The more information you provide about your business, the easier it will be for your customers to find you online. Registering with nichemarket is easy; all you will need to do is head over to our sign up form and follow the instructions.
If you require a more detailed guide on how to create your profile or your listing, then we highly recommend you check out the following articles.
Recommended reading
If you enjoyed this post and have a little extra time to dive deeper down the rabbit hole, why not check out the following posts on Shopify and website tracking.
You might also like

South African Luxury Watch Owners Are Sitting on Outperforming Assets
15 June 2026
Posted by Sven Eick in Press Releases
South African Luxury Watch Owners Are Sitting On Outperforming Assets - And Some Are Using Them As Collateral Instead Of Selling Their Prized Possess...
Read moreBakkie Lid Covers Explained: How to Choose the Right One
25 June 2026
Posted by Amber Nel in Petrol heads
Not all bakkie lid covers are built the same. This guide breaks down the main types and what to look for before you buy one for your vehicle.
Read more{{comment.sUserName}}
{{comment.iDayLastEdit}} day ago
{{comment.iDayLastEdit}} days ago